
Normally, the lunch ride is a beautiful thing. Some of us are lucky enough to take a break for an hour, kit up, chase some wheels and mess around with friends and co-workers. It’s nice to burn off all that extra coffee energy and earn your lunch while you’re at it. Friendly competition (read: hammer throwing and sprints) always seems to be part of the lunch ride experience, maybe because the ride only lasts an hour or less. Unfortunately, our customer’s lunch ride experience was all this and just a bit too much more. He rolled through the paceline after covering an attack and did not see a person-eating pothole, resulting in a failed attempt to bunny hop the crevasse.


Our customer damaged both the headtube and the downtube of the bike in the subsequent crash, sadly cracking his custom a Project One Trek Madone. Luckily, he was able to limp back to the office mostly unscathed. The damage on the headtube is very apparent, but the several-inch crack bisecting the downtube is actually much more difficult to notice (as the picture above depicts). So, first things first, we put the bike through the Ruckus inspection process.

By this point, you are well aware that there is much more to carbon than meets the eye, so we began by ultrasounding both the damaged areas and the non-damaged areas of the frame (headtube/downtube) in order to gain an entire perspective on the layup and thickness of the construction. We then used these measurements to investigate just how far the damage propagated on the downtube. As you can see, the actual damaged area was several times greater than just the crack, and we had to remove about 5 layers of damage to successfully isolate the compromised carbon. After the inspection and damage removal, we put the bike through our layup procedures, mimicking the original factory layup and improving it by adding a few layers of carbon oriented for structural rigidity. As always, after casting and much wet sanding the bike was ready for paint.

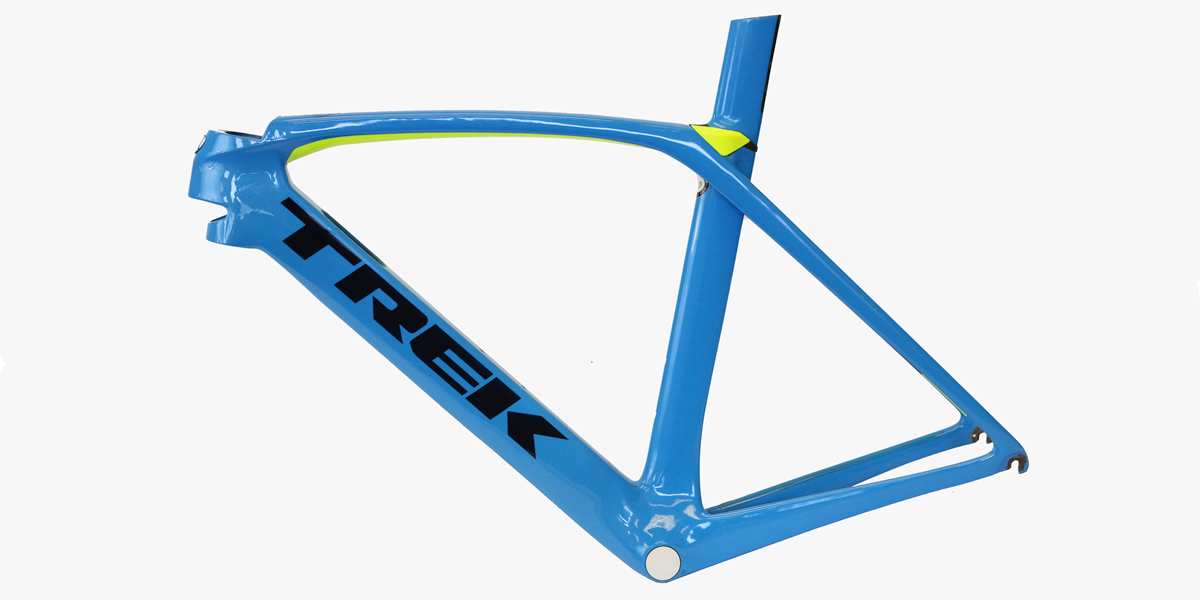
Color matching is a delicate and time-consuming art in itself, but our re-creation of paint and graphics is legendary, so nailing this custom Project One blue was no problem for us. We painted the bike and graphics and hid the repaired areas, making them look just as good as new.


We’re more than thrilled with how these repairs turned out. More importantly, we are just happy to keep another great bike out on the road where it belongs. Have you gotten a little too excited on a ride lately? Get in touch with us and we’ll happily inspect your bike and repair it if needed. Also, call out those road obstacles while you’re out there!